Months of planning, design and production go into an exhibition stand. Then, after a few busy days, it all comes down. Photography gives that work a life beyond the show. The images can become part of your next pitch, an award entry, a design portfolio or your client’s marketing. Thinking about those uses before the doors open helps you come away with a useful set of photographs. From photographing exhibition spaces, these are five groups of images I’d make time for.
1. The complete space, before opening
Hopefully, by the time the doors open, you’ve got a beautifully designed space primed and ready to go. Now is the ideal time to capture those gorgeous, in real life, empty shots of the space. Give your photographer time to capture the finished stand either before visitors arrive or once they’ve left at the end of the day. Photographing it from several positions helps explain the layout, scale and relationship between different areas. Yes, renders can be good for this, but IRL with the real world gives the clearest picture. These images are valuable for design portfolios and presentations, where someone needs to understand the space at a glance.
Agree the timing with production beforehand so the stand is ready when your photographer arrives - or have production on hand if you decide to shoot at the end of the day. Things to note here, the people working on the stand also have a job to do, so often you’ll have to work around them. Be sure to communicate with them to make sure you’re free from clutter and all the lighting, screens and features are switched on.

2. The details that make it distinctive
There will be elements of the stand that have taken considerable thought to get right. Make sure you have a video call with your photographer in advance to run through the brief and explain those niche elements to them. It might be a particular material, a bespoke lighting feature, the finish on a reception desk or the way branding has been integrated into the furniture. Something subtle might be super important to the design agency or client. Don’t slack on the details. Make sure there’s some medium shots and tight details in the brief to help give the whole picture of the space.
3. The stand in use
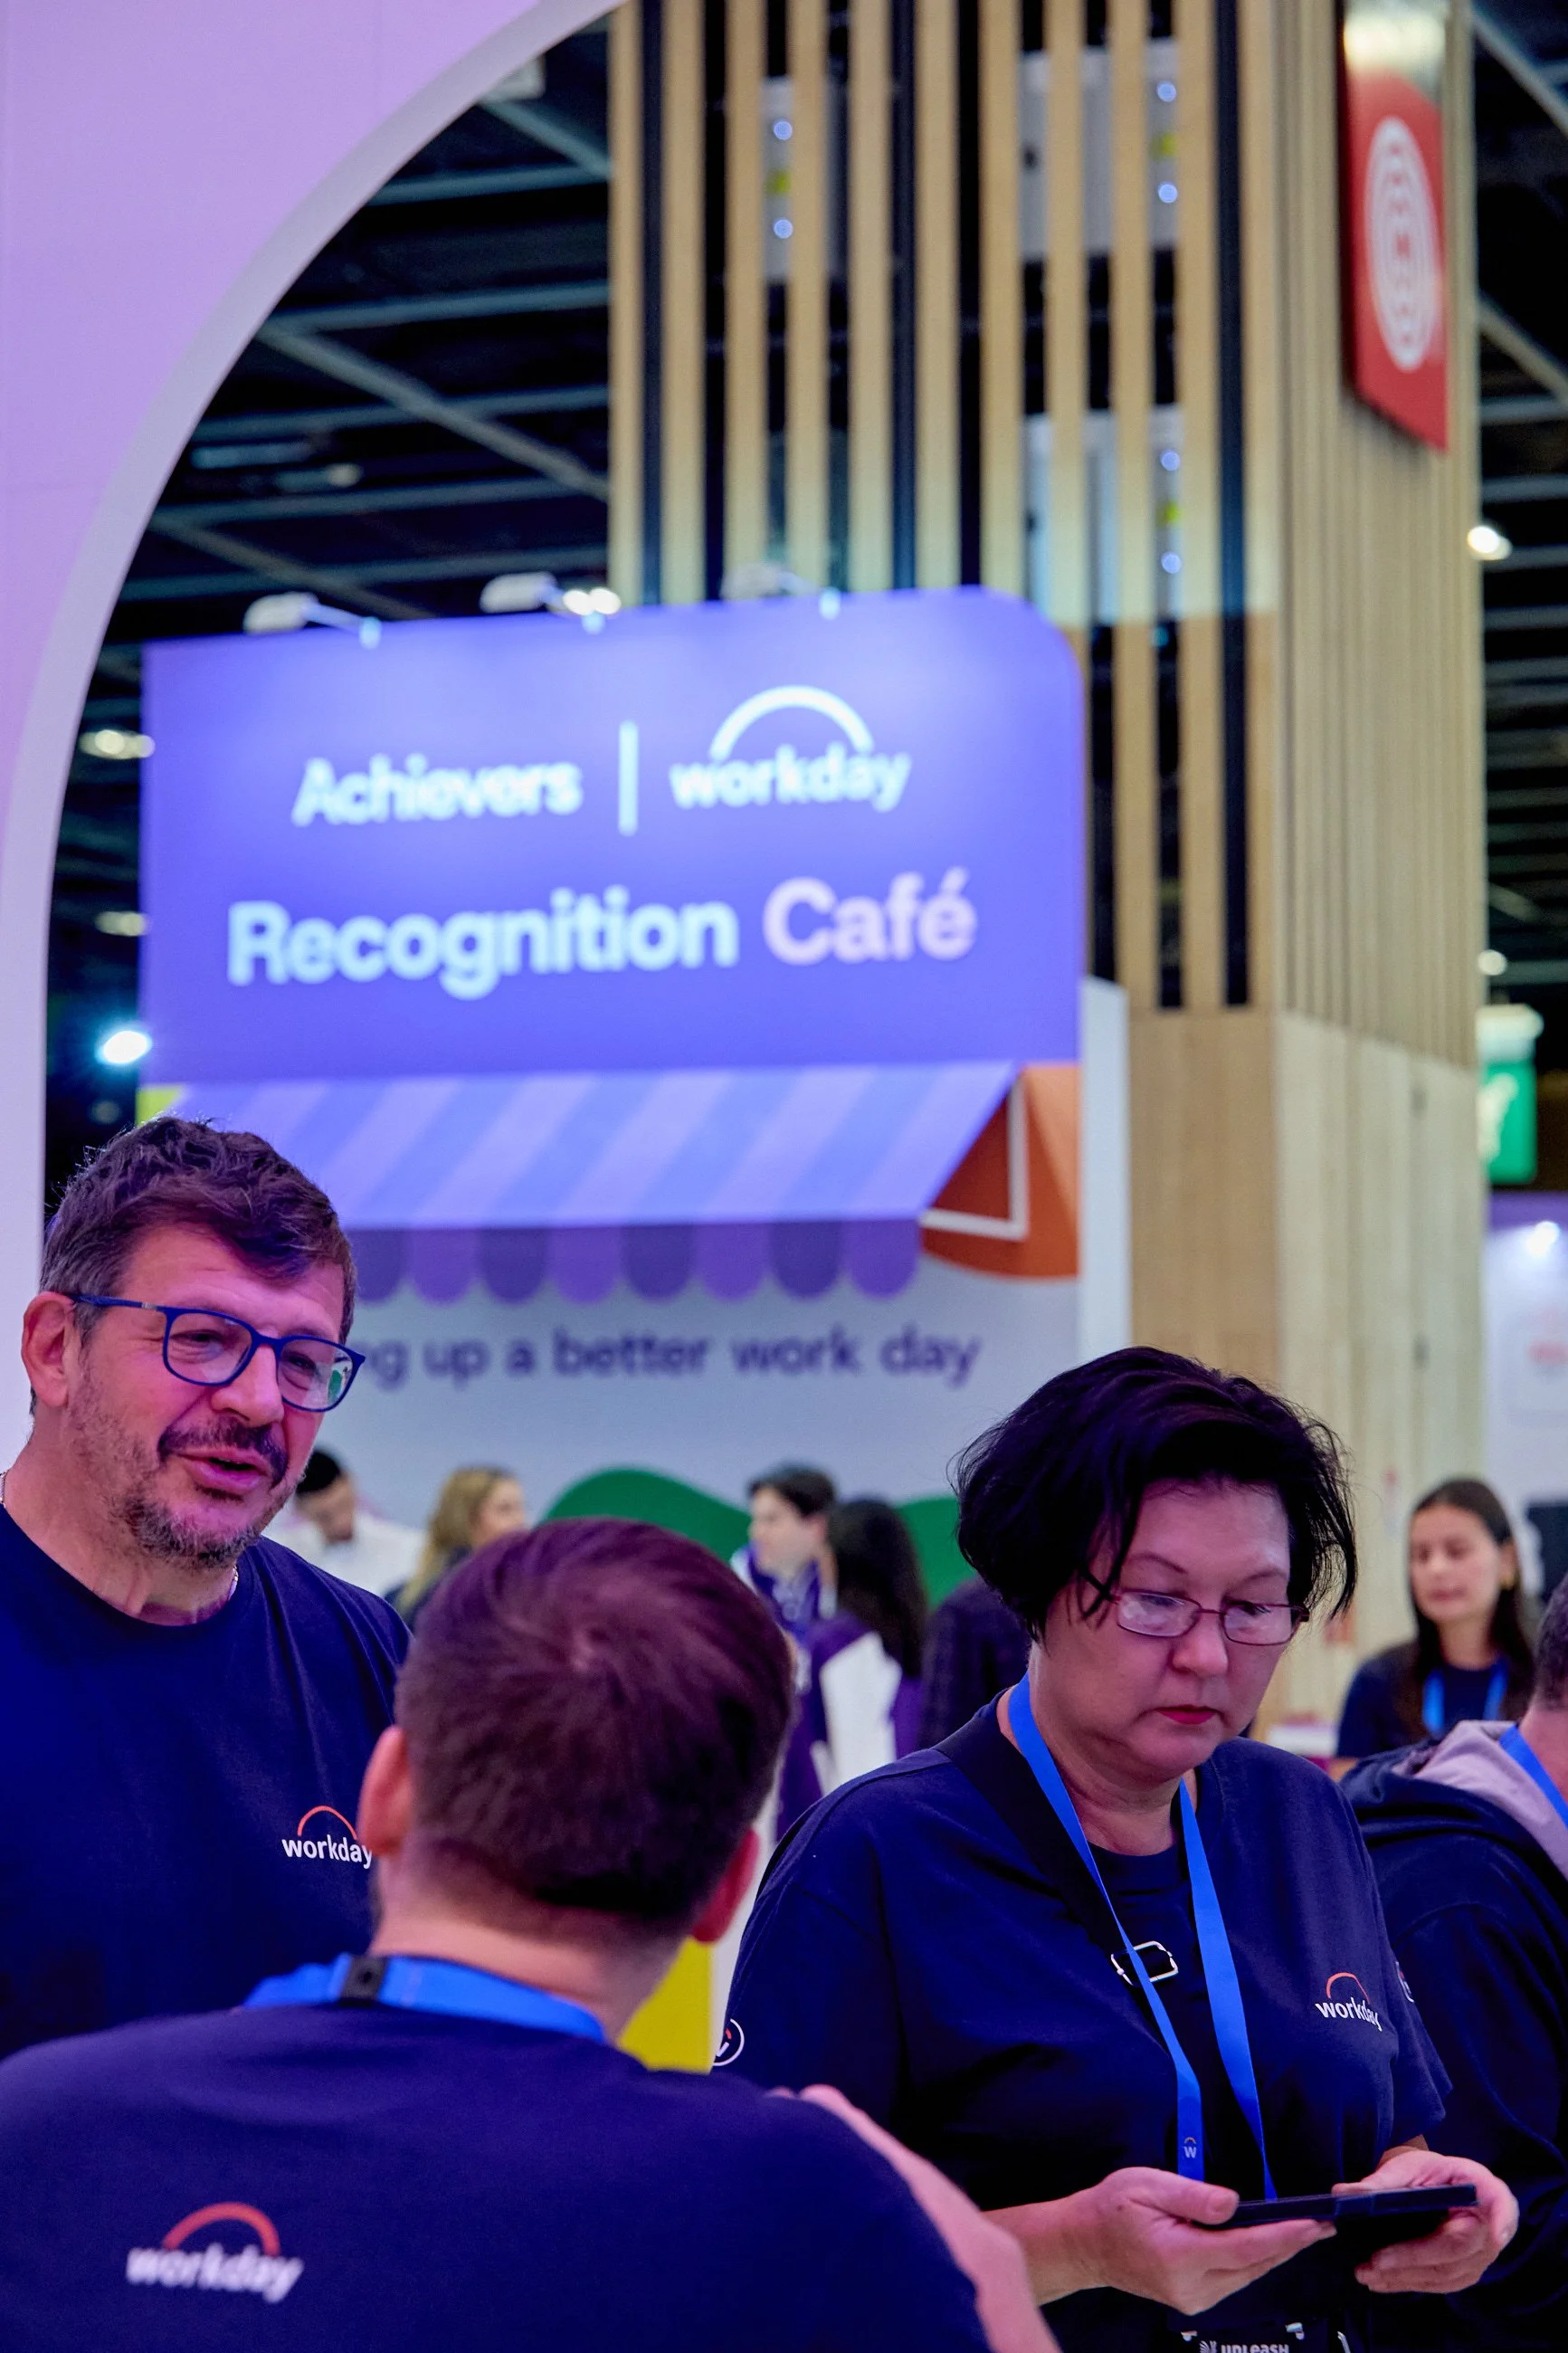
With people flooding in and buzzing around the stand the focus can shift as to how they experience the space. I can’t say I’ve EVER been asked for people looking bored and shaking hands in formal office wear. Look for conversations, demonstrations, meetings and moments of interest. Personally I love a wide shot with a slow shutter - it helps the space look clean and somewhat unobstructed but at the same time gives that feeling of a “buzz” around the place. Matching that with some smiling, laughing or even hugging shots of customers and clients in the space is a surefire winner! For an agency, these are useful photographs for showing how the design supports its intended purpose. A networking area becomes much easier to understand when you can see people comfortably using it. Let your photographer know when the stand is likely to be busy and when any important meetings or activities are scheduled.

4. The activations working
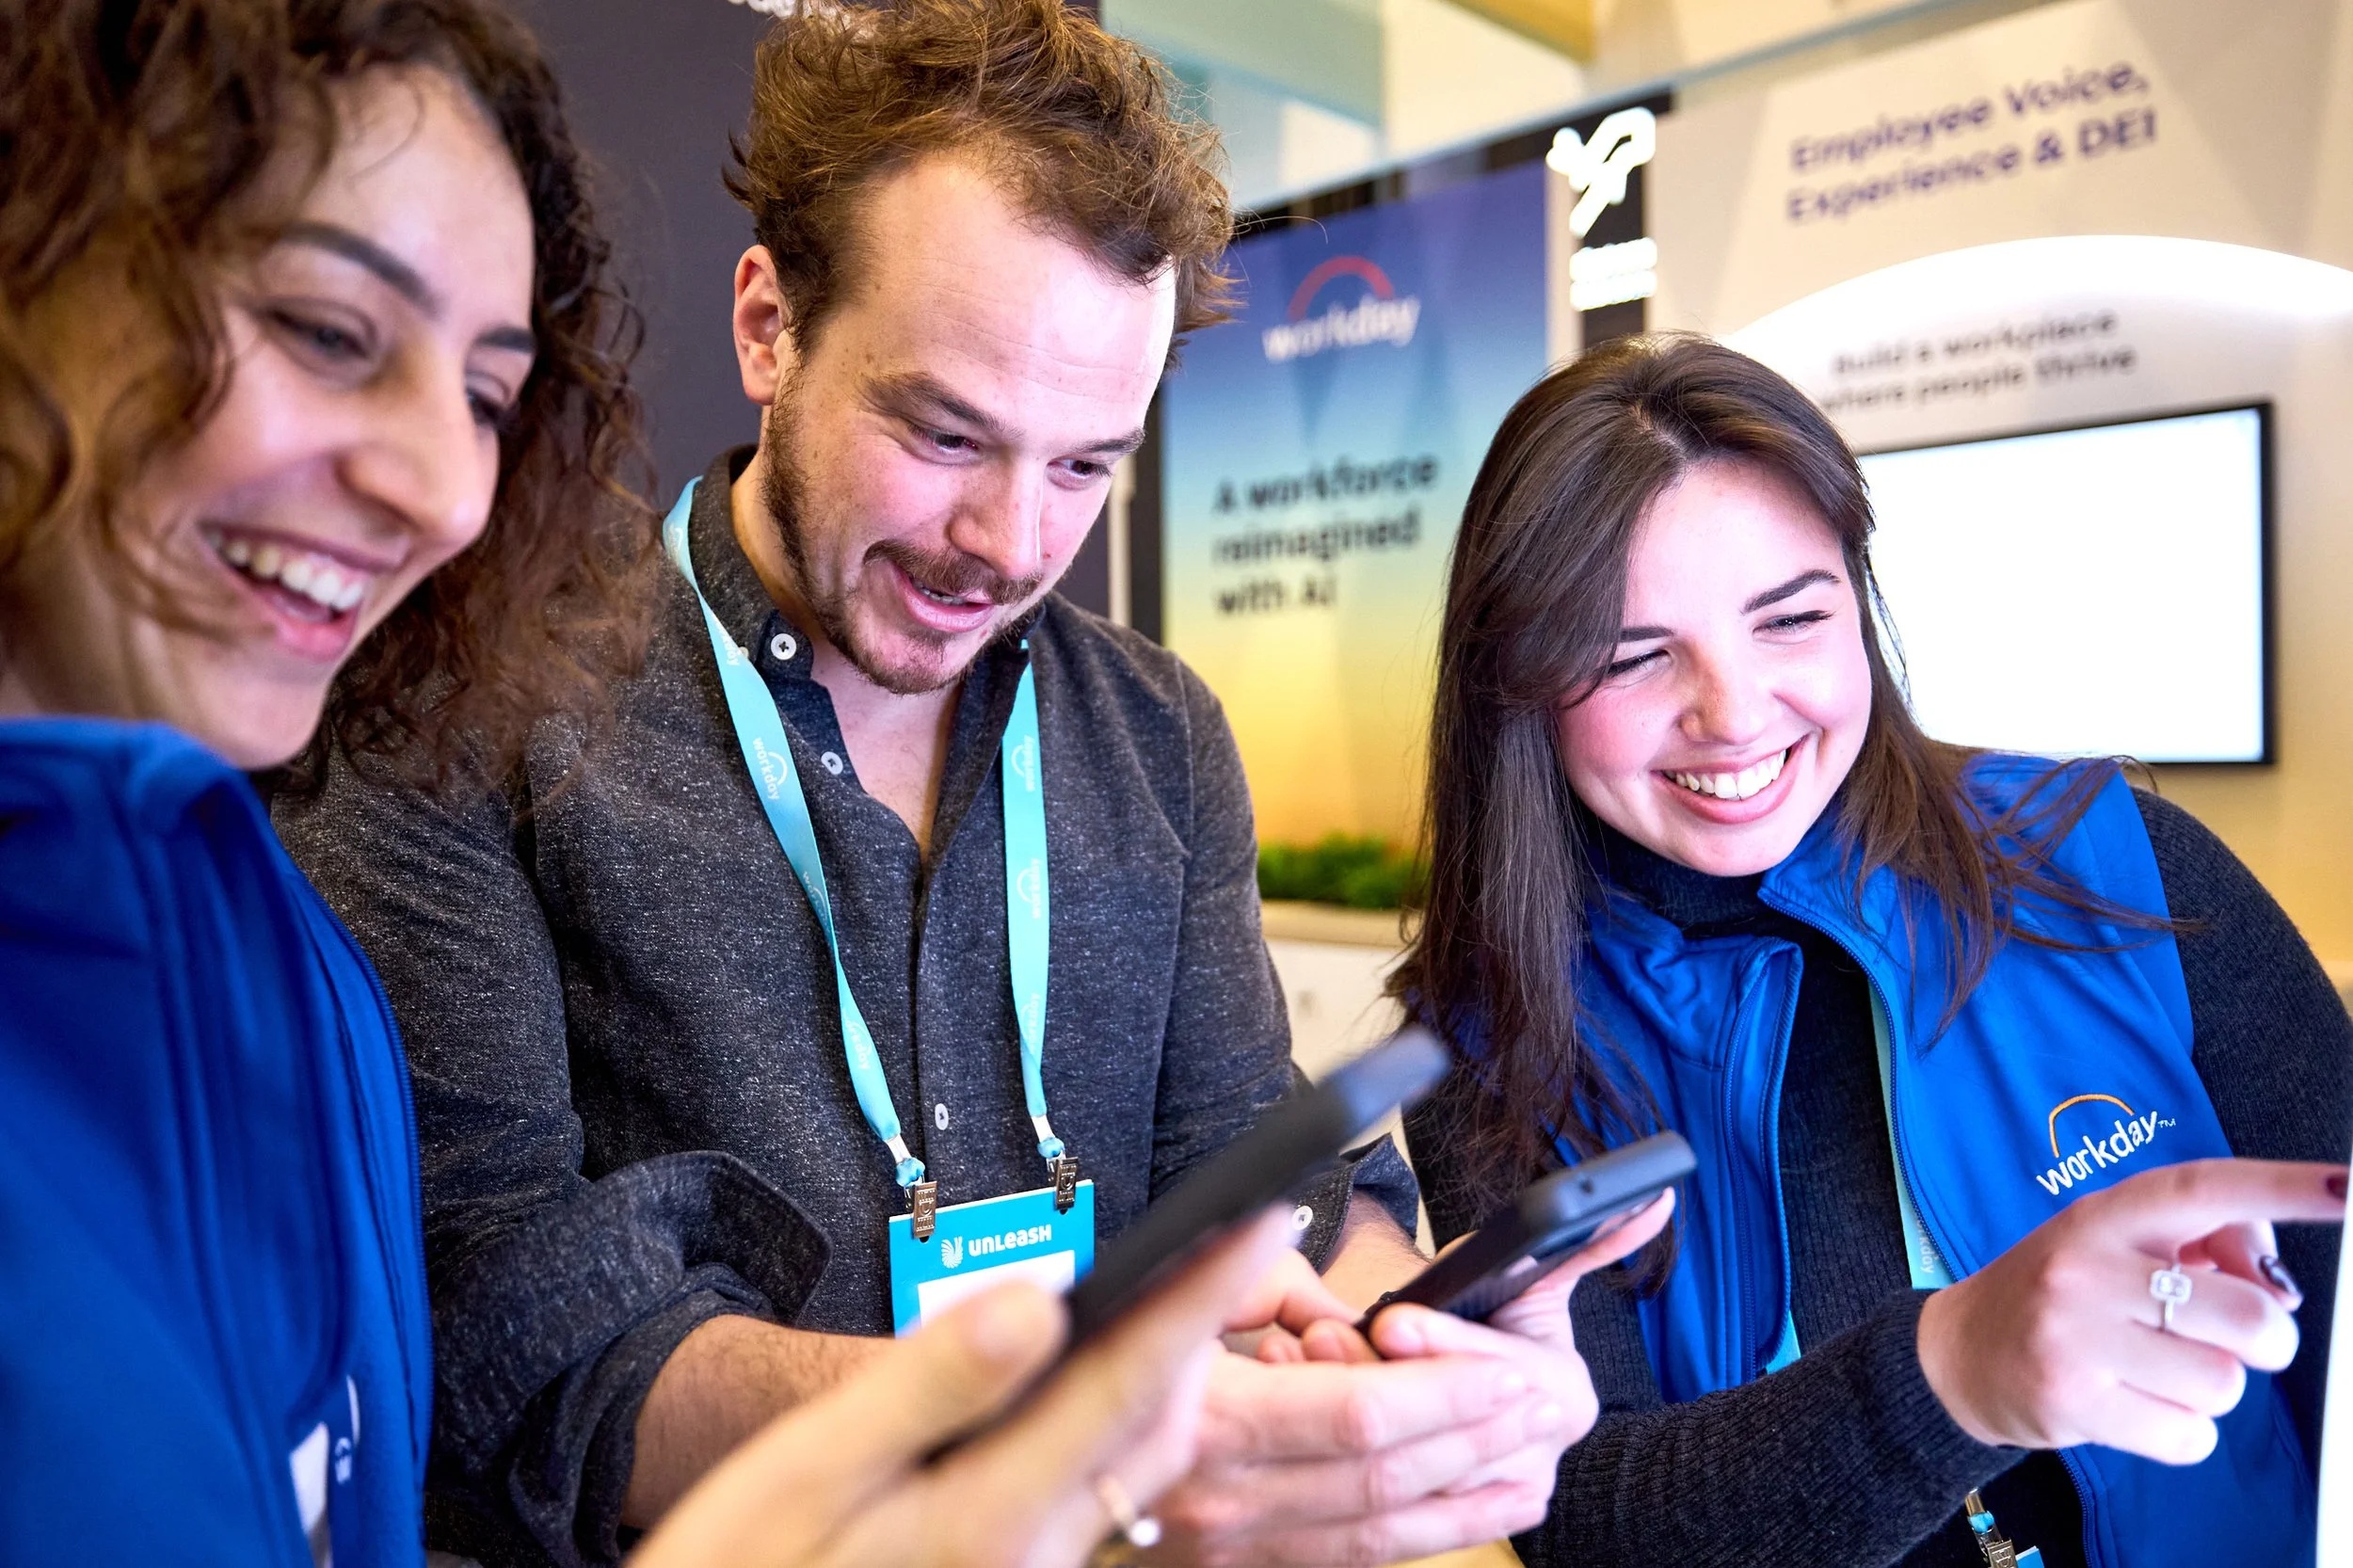
Everyone is vying for the most eye catching installation. They can be so important on two big levels; firstly, for the design agency, it’s proof of concept “Here’s people having a great time on your stand - thanks to us!” And secondly, for the client, it can be a surefire way of getting people to your stand in the first place. Not only that, the resulting imagery if shared promptly, can entice people over the next day. A photograph of the installation alone may leave someone wondering what it actually does. Aim to show the visitor’s action, the response to the installation and their reaction. That might mean a hand using a touchscreen, the resulting content on a display and a conversation with the demonstration team. For teams designing interactive experiences, this sequence helps explain the idea to prospective clients.
5. Branding and partnerships
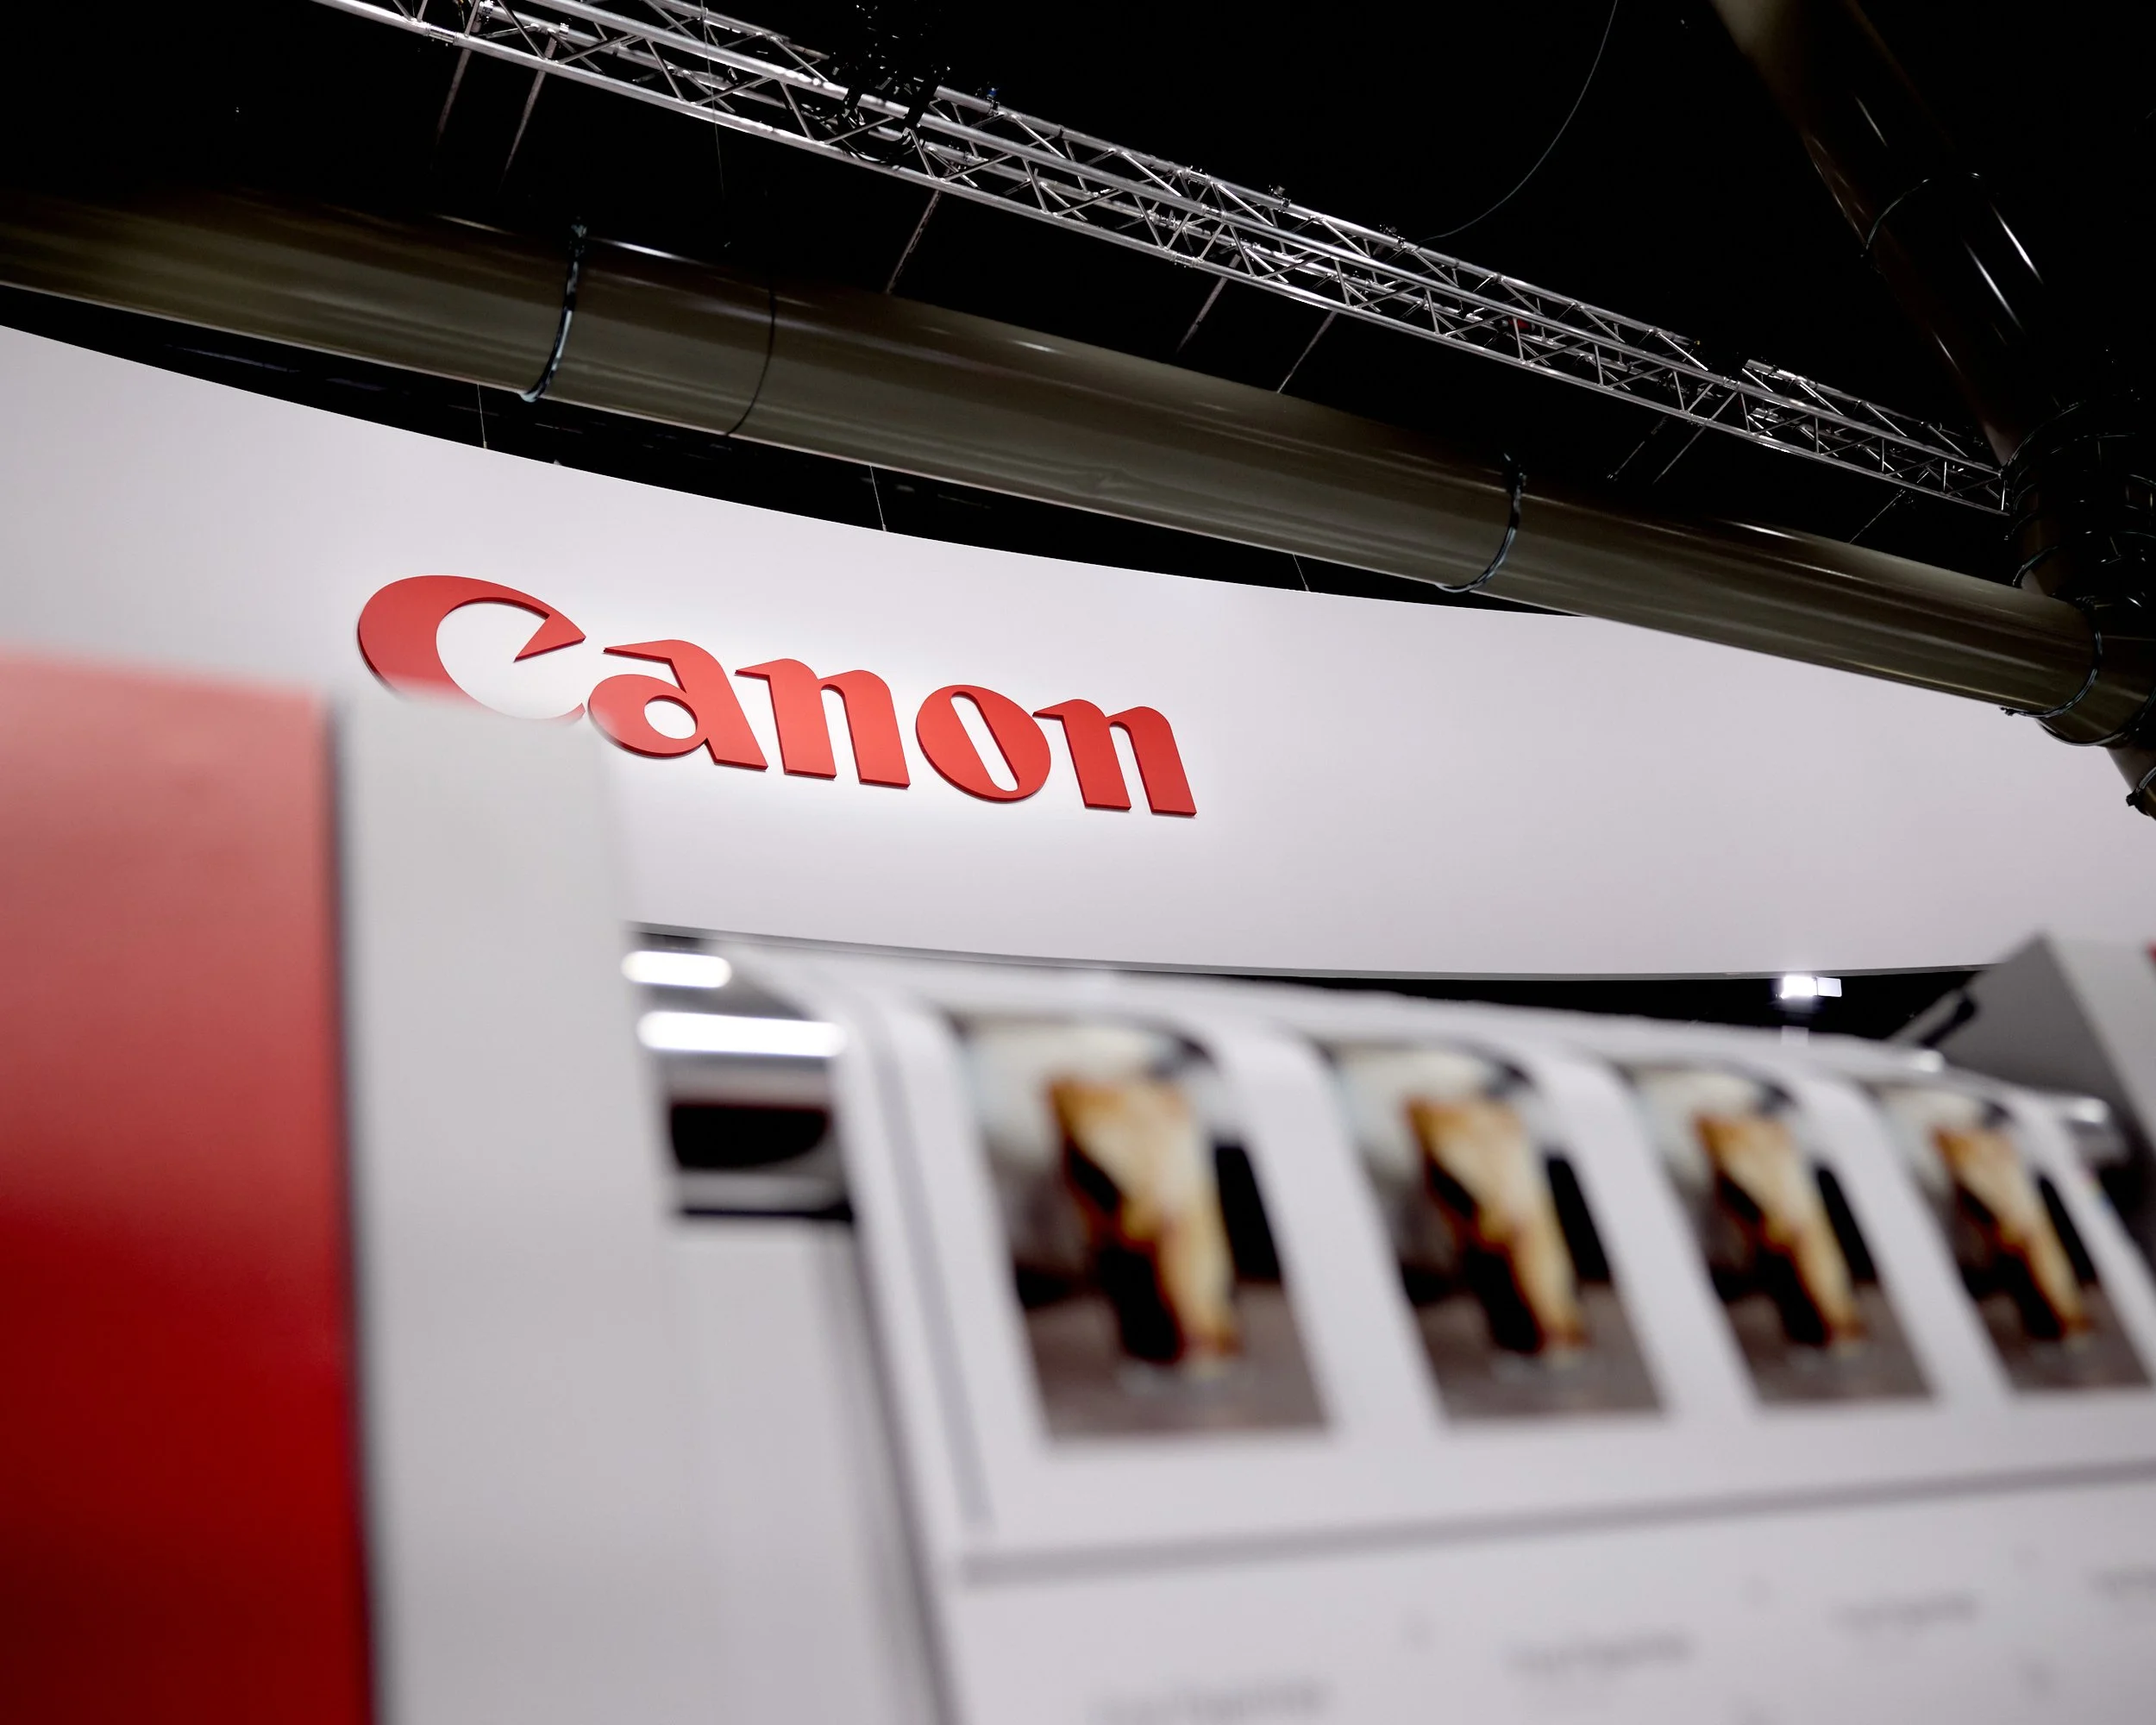
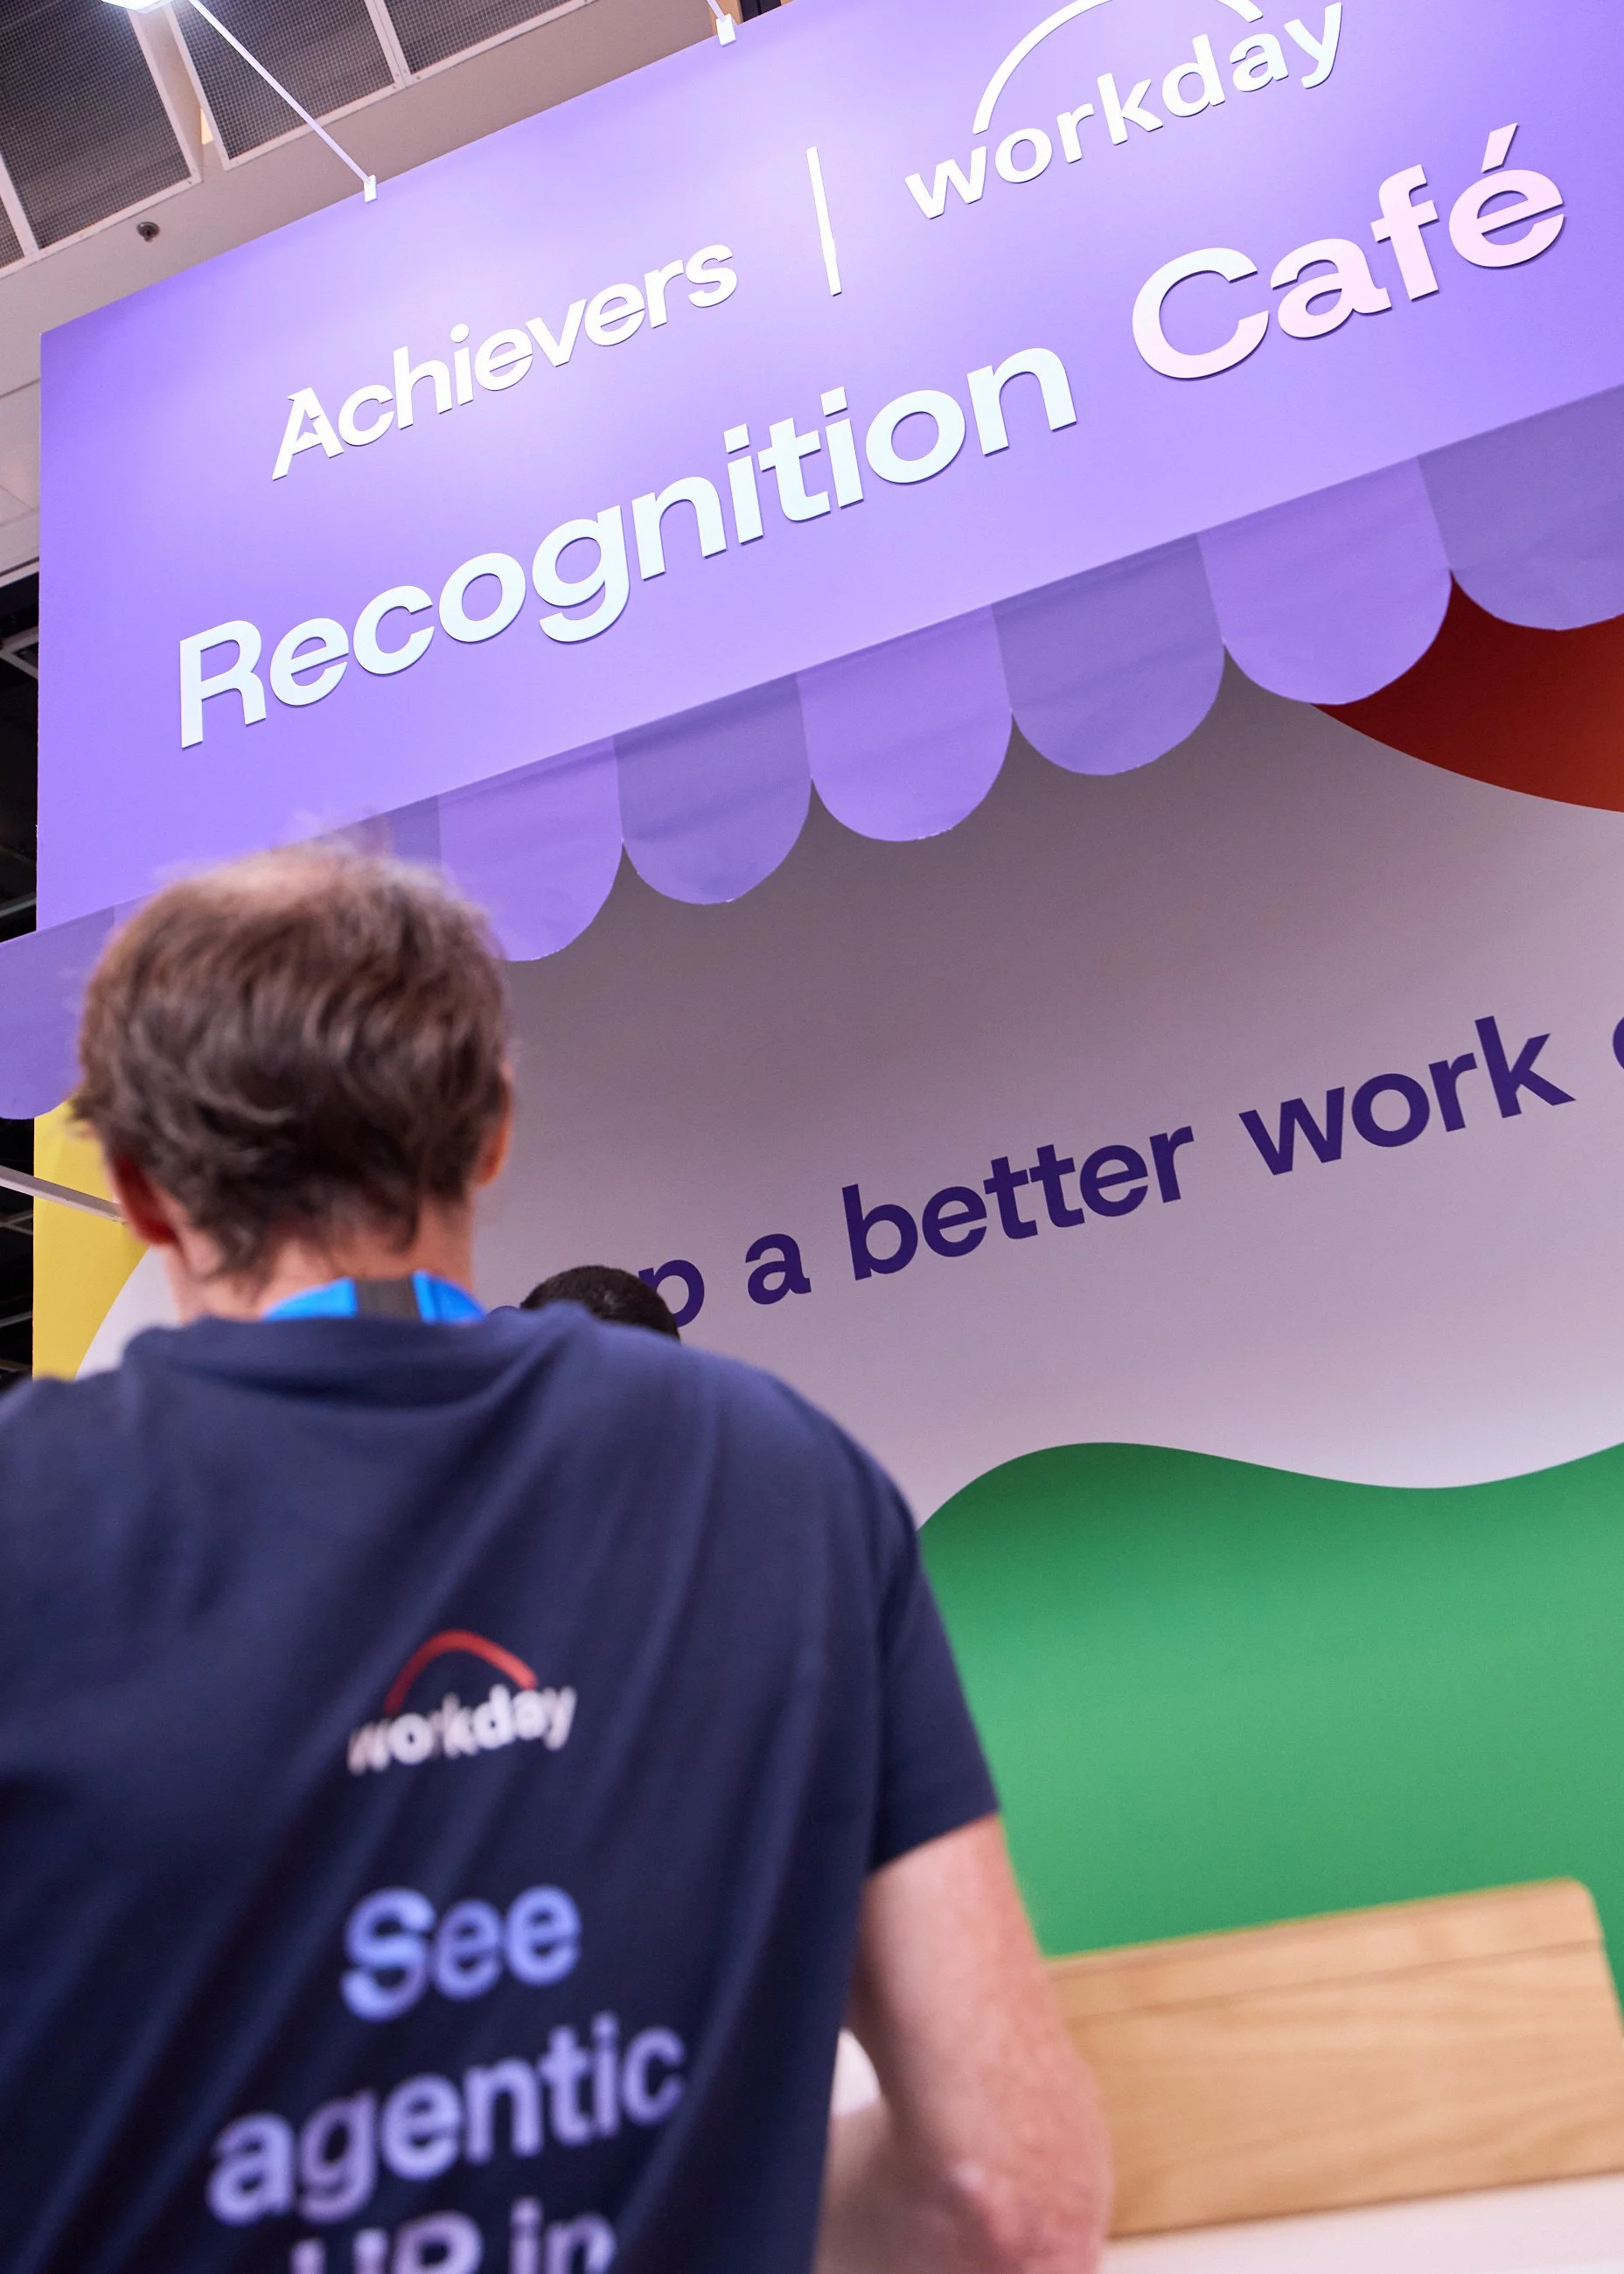
Make sure the main brand, sponsors and collaborators receive the coverage they need. Include clear views of logos and messaging, alongside photographs showing how those elements sit within the space. I know as a photographer I can get dragged here there and everywhere at an event. That means partner branding can be easy to overlook during a busy show, so flag any essential placements beforehand - and be wary of downplaying it if it’s truly NOT essential, if you really do need it, make sure to make that point to your photographer.
Here’s a quick handy checklist to share with your photographer before your next show
Clean views of the complete stand.
Distinctive design features and details.
People using the different spaces.
Activations in use, including visitor reactions.
Main brand and partner coverage.
